The Linebacker campaign introduced Laser Guided Bombs FINAL SITREP 30 JUNE 18
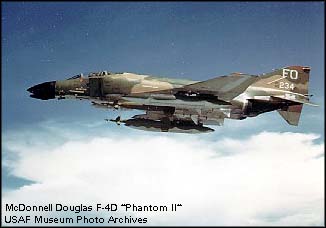
F-4D laser bomber

A little background:

US Air Force photo
" On the first day of Linebacker, sixteen McDonnell Douglas F-4 Phantoms of the 8th Tactical Fighter Wing "Wolfpack" based at RTAFB Ubon in Thailand armed with 2,000 lb electro-optically guided bombs attacked the Paul Doumer Bridge that linked the port city of Haiphong with the capital of Hanoi over the Red River. The weapon systems officers (WSOs) in the back seat of the Phantoms used a TV screen to display the image from the TV camera in the nose of the bomb. Picking out a sharp contrast point between light and dark, the WSOs selected the aim points on the bridge and the bombs were on their way after the dropping aircraft turned for safety. Every electro-optical bomb missed, with the bombs locking on the shadow of the bridge on the water below or suffering a guidance unit failure. Some other supporting aircraft scored hits with conventional bombs, but none of the spans had been dropped.
While the first laser-guided bombs were under development prior to the 1968 bombing halt, continued work by Texas Instruments had improved the method from the hand-held "Zot Box" that was used by the WSO while the Phantom flew a pylon turn around the target a podded systems in the form of the AN/AVQ-10 Pave Knife allowed more flexible attack approaches to be made.

The AN/AVQ-10 Pave Knife, showing the camera/laser aperture (US Air Force photo)
The WSO used the laser in the Pave Knife pod to designate the target point for the laser-guided bombs. The 8th TFW at Ubon had six Pave Knife pods and it was decided to use them on the next day to revisit the Paul Doumer Bridge. Compared to the sixteen aircraft from the previous day, on 11 May 1972 only four F-4D Phantoms led by Captain Thomas Messett (who flew in the previous day's raid) would attack the bridge. One Phantom carried two 3,000 lb LGBs and the other three Phantoms carried two 2,000 lb LGBs. Only Captain Messett's F-4 carried a Pave Knife pod. The defenders of the bridge didn't think the four Phantoms were the main strike force and as they dived on the bridge, Messett and his WSO designated target points on the bridge and all eight bombs scored direct hits on the bridge, dropping the entire span on the Hanoi side of the bridge into the Red River. It would be a year before the Paul Doumer Bridge was usable again!" (1)
1. The First Successful Combat Drops of Laser-Guided Bombs
I'll build this Phantom along side the EC-121R aircraft. When I paint, most of the time goes to mixing and thinning the paint and cleaning the airbrush. Once the paint is thinned, it's shelf life is finite, so it’s either used or tossed in a few weeks! Time spent actually blowing paint was minuscule compared to the prep and clean up. This way, I get twice as much done in one painting session. This is really efficient for the small paint jobs like cockpit colors, gear wells, landing gear, bombs, etc. When one model’s sub-assembly is setting or drying, I work on the other one. I split the projects when it comes time to decal and final assembly. Works for me!
Next up: Some progress pix, promise!
SITREP A
The knock against the Fujimi Phantoms is the cockpit is pretty basic. When Fujimi released their British Phantoms, they updated the cockpit making it a gem. IMO, it's just behind the Monogram Phantoms in detail; inexplicably, Fujimi didn't update the US versions with the better cockpit. So, I made a resin copy of the cockpit from the Fujimi F-4K kit.

I cut the combing off the fuselage just ahead of the pilot. I'll add a better rendition from a Hasegawa kit. The aft canopy will cover the gaps behind the WSO.

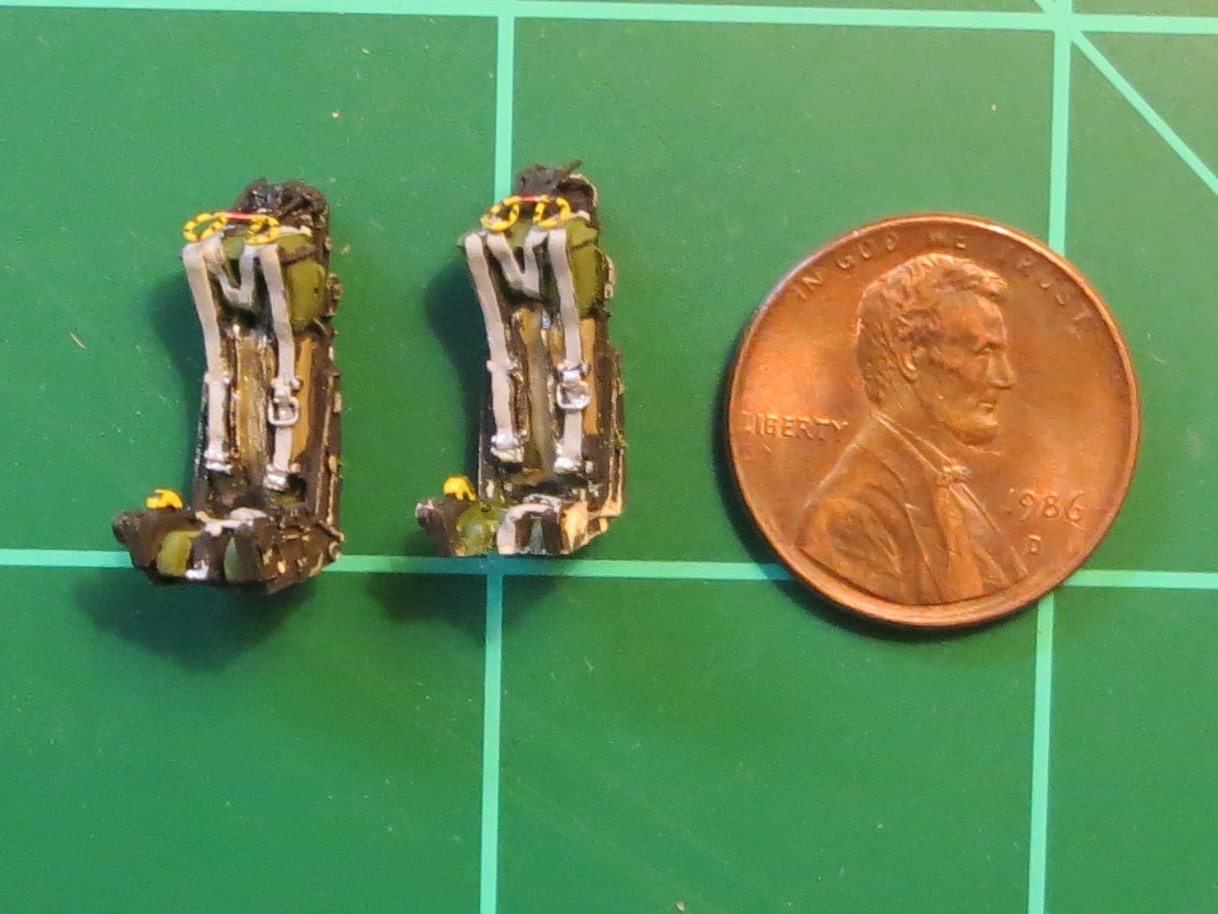
The ejection seats are Verlinden F-4 seats. They're a little undersized, but so are the kit seats. The face curtain handles are painted wire.

Some of the paint has been rubbed off testing the fit. So like the real thing, it's tight.
RJ
SITREP B 8OCT17
Not much progress to report on this kit. I got the white painted, and I'm working the fuselage seams. (AGH!)

The issue with gloss paints on small scale models is the "toy" like appearance a really shinny finish has. So my favorite technique for painting gloss colors on small scale models is:
- paint the area with light coats in the flat color until the surface is completely covered.
- thin the gloss paint with 50% -60% thinner. It will be water thin and translucent.
- Spray over the flat coverage until the color looks damp.
When dry, if the finish isn't shinny enough for you, add another light coat: repeat until you're happy with it. The finish will be a soft gloss/satin look that's not too shinny avoiding the toy appearance.
Up next is mating the wings to the fuselage.
RJ
SITREP C 15OCT17
Logged some modeling time this week-end. I got the intakes, wings & bottom glued to the fuselage.

Fujimi was the first model company (as far as I know) to use modular molds. The parts common to all versions are the same in every kit, and separate trees contain parts for the various versions. Many times, however, the various moldings don't quite line up. As you can see below, some pretty bad gaps around the bottom the fuselage where the intakes, center fuselage & wings come together. That gap behind the missile wells is common to every Fujimi Phantom I've ever built.

I'll place styrene strips in the gaps & sand them smooth. Much filling and sanding in my immediate future me thinks. RJ
SITREP D 6 NOV 17
I finished the filling & sanding. I've moved on to the sub-assembles.
My favorite filler is Mr Surfacer primer. I apply the primer with a tooth pick & let it dry. I, then, moisten a piece of paper towel with eco-friendly lacquer thinner & wipe off the excess. This formula of thinner doesn't attack the plastic, so I don't obliterate the details sanding.

Here's the bottom seams filled with styrene and Mr Surfacer. For the styrene fill pieces, there's no way around using sand paper.

The gray primer filler is hard to see; notice the white styrene strips in the fuselage gap. Next, I'll complete the cockpit, install the canopy & mask in preparation for painting. This project will sit idle until the EC-121R kit catches up & is ready to paint.
RJ
SITREP E 4 JAN 18
The F-4D is ready to paint. If you're familiar with the Fujimi F-4 series of kits, you know the cockpit combing molded into the fuselage halves looks nothing like the real thing. Here's the part from the Hasegawa kit:

Looks much more realistic; doesn't it? I'll spray the combing flat black, assemble the cockpit then start the camouflage.
RJ
SITREP F 11 FEB 18
This model is in continual hold mode until the EC-121R catches up to start painting.
I did finish the cockpit using the Verlindin seats, Hasegawa and kit parts.


Masked canopy parts are in place; I'll fill the gaps with white glue then paint. 🙏

RJ
SITREP G 7 APR 18
Been awhile; I got frustrated, so I laid modeling aside for awhile. I played with my grand daughters, caught up on a few movies I've want to see, and read a couple of trashy novels with no redeeming value to my betterment or enlightenment.
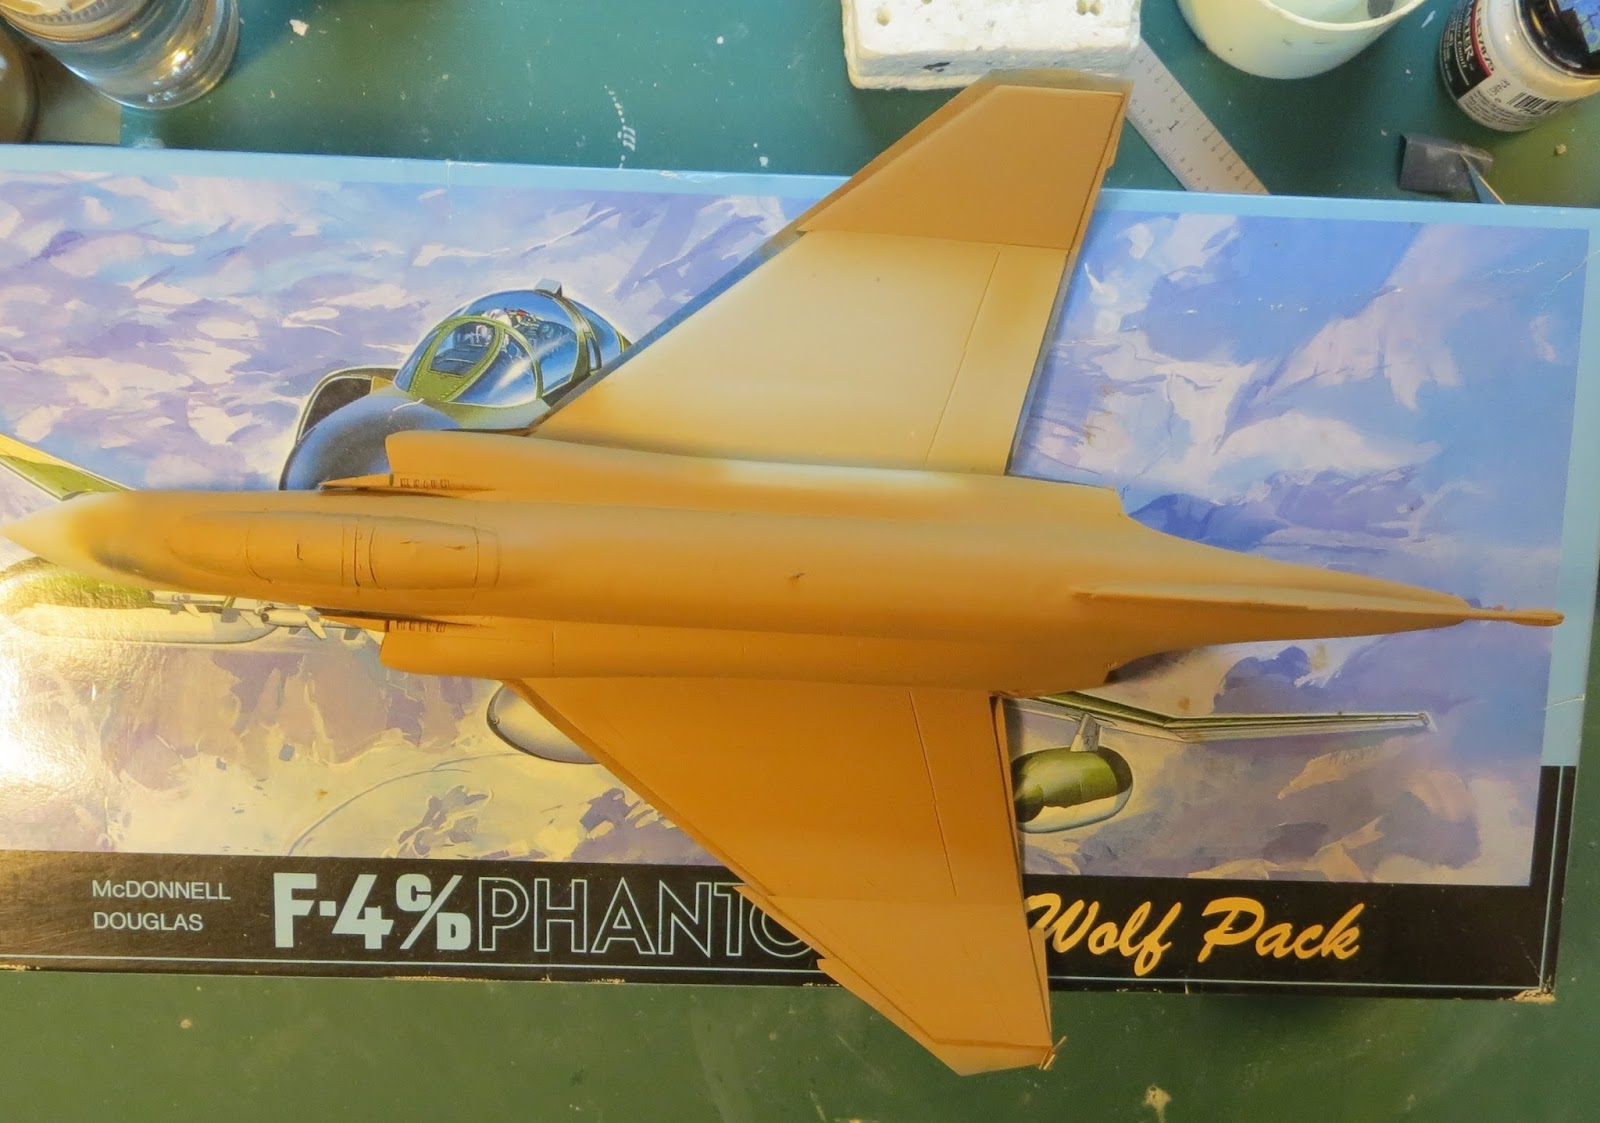
Rained this past week-end, and I couldn't resist the siren call of the model bench. So I embarked on a marathon painting binge.
I painted the EC-121, the Phantom and some pieces/ parts.


The LGBs and afterburner cans are, also, MM paint. I'll spend the coming week painting and masking the topside camouflage scheme.
Over the hump and now it's down hill to the finish!
RJ
SITREP H 15 FEB 18
Time to mask & paint. I'm going to try something new. To get a tight, uniform feathered line of demarcation between the camo-gray bottom & the sides, I placed a strand of parcel string just below the edge of the masking tape.

The string should hold the edge away from the model at a uniform distance for the length of the masking line. We'll see how well this works when I remove all the masking when all the painting is complete.
I sprayed Tan first. The Testors Model Master Tan FS 30219 doesn't look pink enough to my eye. So, I added Testors light tan (that comes in the 1/4 ounce bottle) a little at a time until it looked right to me.
Medium Green is next.
RJ
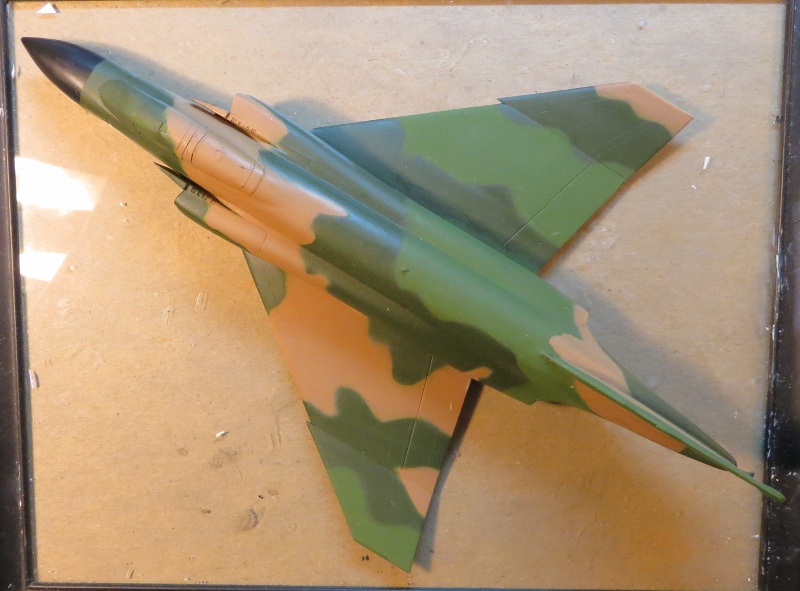
SITREP I 20 MAY18
Here's the masking for the Medium Green. I enlarged the kit camo diagram to match the size of the plane & cut it up to make the masks. Here's the medium green mask:

The Medium green:

Repeat for the dark green. Then I masked the radar dome with a thin strip of Tamiya masking tape followed by more tape. To protect from overspray, I cut the corner off a sandwich bag & pulled it over the nose until it stretched over the fuselage.

As I painted, I painted the Pave Knife pod. Then I masked the laser head. It had a metallic finish compared to rear of the pod. I added a little metallic gray and dark olive to the dark green.

The results:

I'm going to set this model aside & complete the EC-121. When that's done, decal & assemble this one.RJ
SITREP J 16 JUNE 18
Finished the BATCAT! Now to finish up the Phantom:
I masked the bare metal area around the tail/fuselage with Scotch tape to yield a hard line. Then masked the model with masking tape to prevent overspray.


As you can see, a single color bottom is pretty ho-hum. So, I drew in the panel lines with a drafting pencil holding a "F" lead which is a medium hardness.

After I finished that, I placed a piece of tape up against the aft panel and put some tick marks on the tape using dark gray and burnt ember pastels . I took a piece of paper towel and pulled the pastels down the fuselage to replicate the fluid streaks every F-4 has.
I repeated this for every panel line under the engine. When I finished that, I took my dirty paper towel and randomly rubbed spots on the bottom.

Weathered with some tan and light gray pastel chalks.

Next is decals. Gettin' there.
RJ
SITREP K 17 JUNE 18
Got the gloss coat on the model; whiled it dried I decaled and detailed the underwing stores.

Start decaling the plane next.
RJ
SITREP L 25 JUNE 18
Decaling complete.

Final flat coat then assembly and this beast is done.
RJ
I removed the masking from the canopies. I put a new blade in my X-acto knife and scored the edge of the mask. That way, when I pull the tape off I get a hard edge, and the tape doesn't pull the paint off the framing.
To glue the stores to the pylons, I drilled a hole for a straight pin in the store and on the pylon. Super glued the pin in place and cut it to length. You can see the pin stub on the bottom LBG. This gives a little more strength to the joint.

All the pieces in place!

COMPLETE! (whew...)
RJ


Comments
Post a Comment
Please keep comments civil and on topic. Any comment can be remove without warning at the discretion of the moderator.